WHEN I WAS EIGHT years old, Santa Claus (aka my dad) gifted me a Game Boy Color with Donkey Kong Country — best game ever! Except, it took about a month for me to find out it was indeed the best game because “Santa” gave it to me without any batteries. Dang it! With that being said, I recently took up a challenge. No, not to be Santa Claus but to design and create a lightweight, removable/portable, battery-operated and remote-controlled sign. How does that relate? Well, I included batteries!
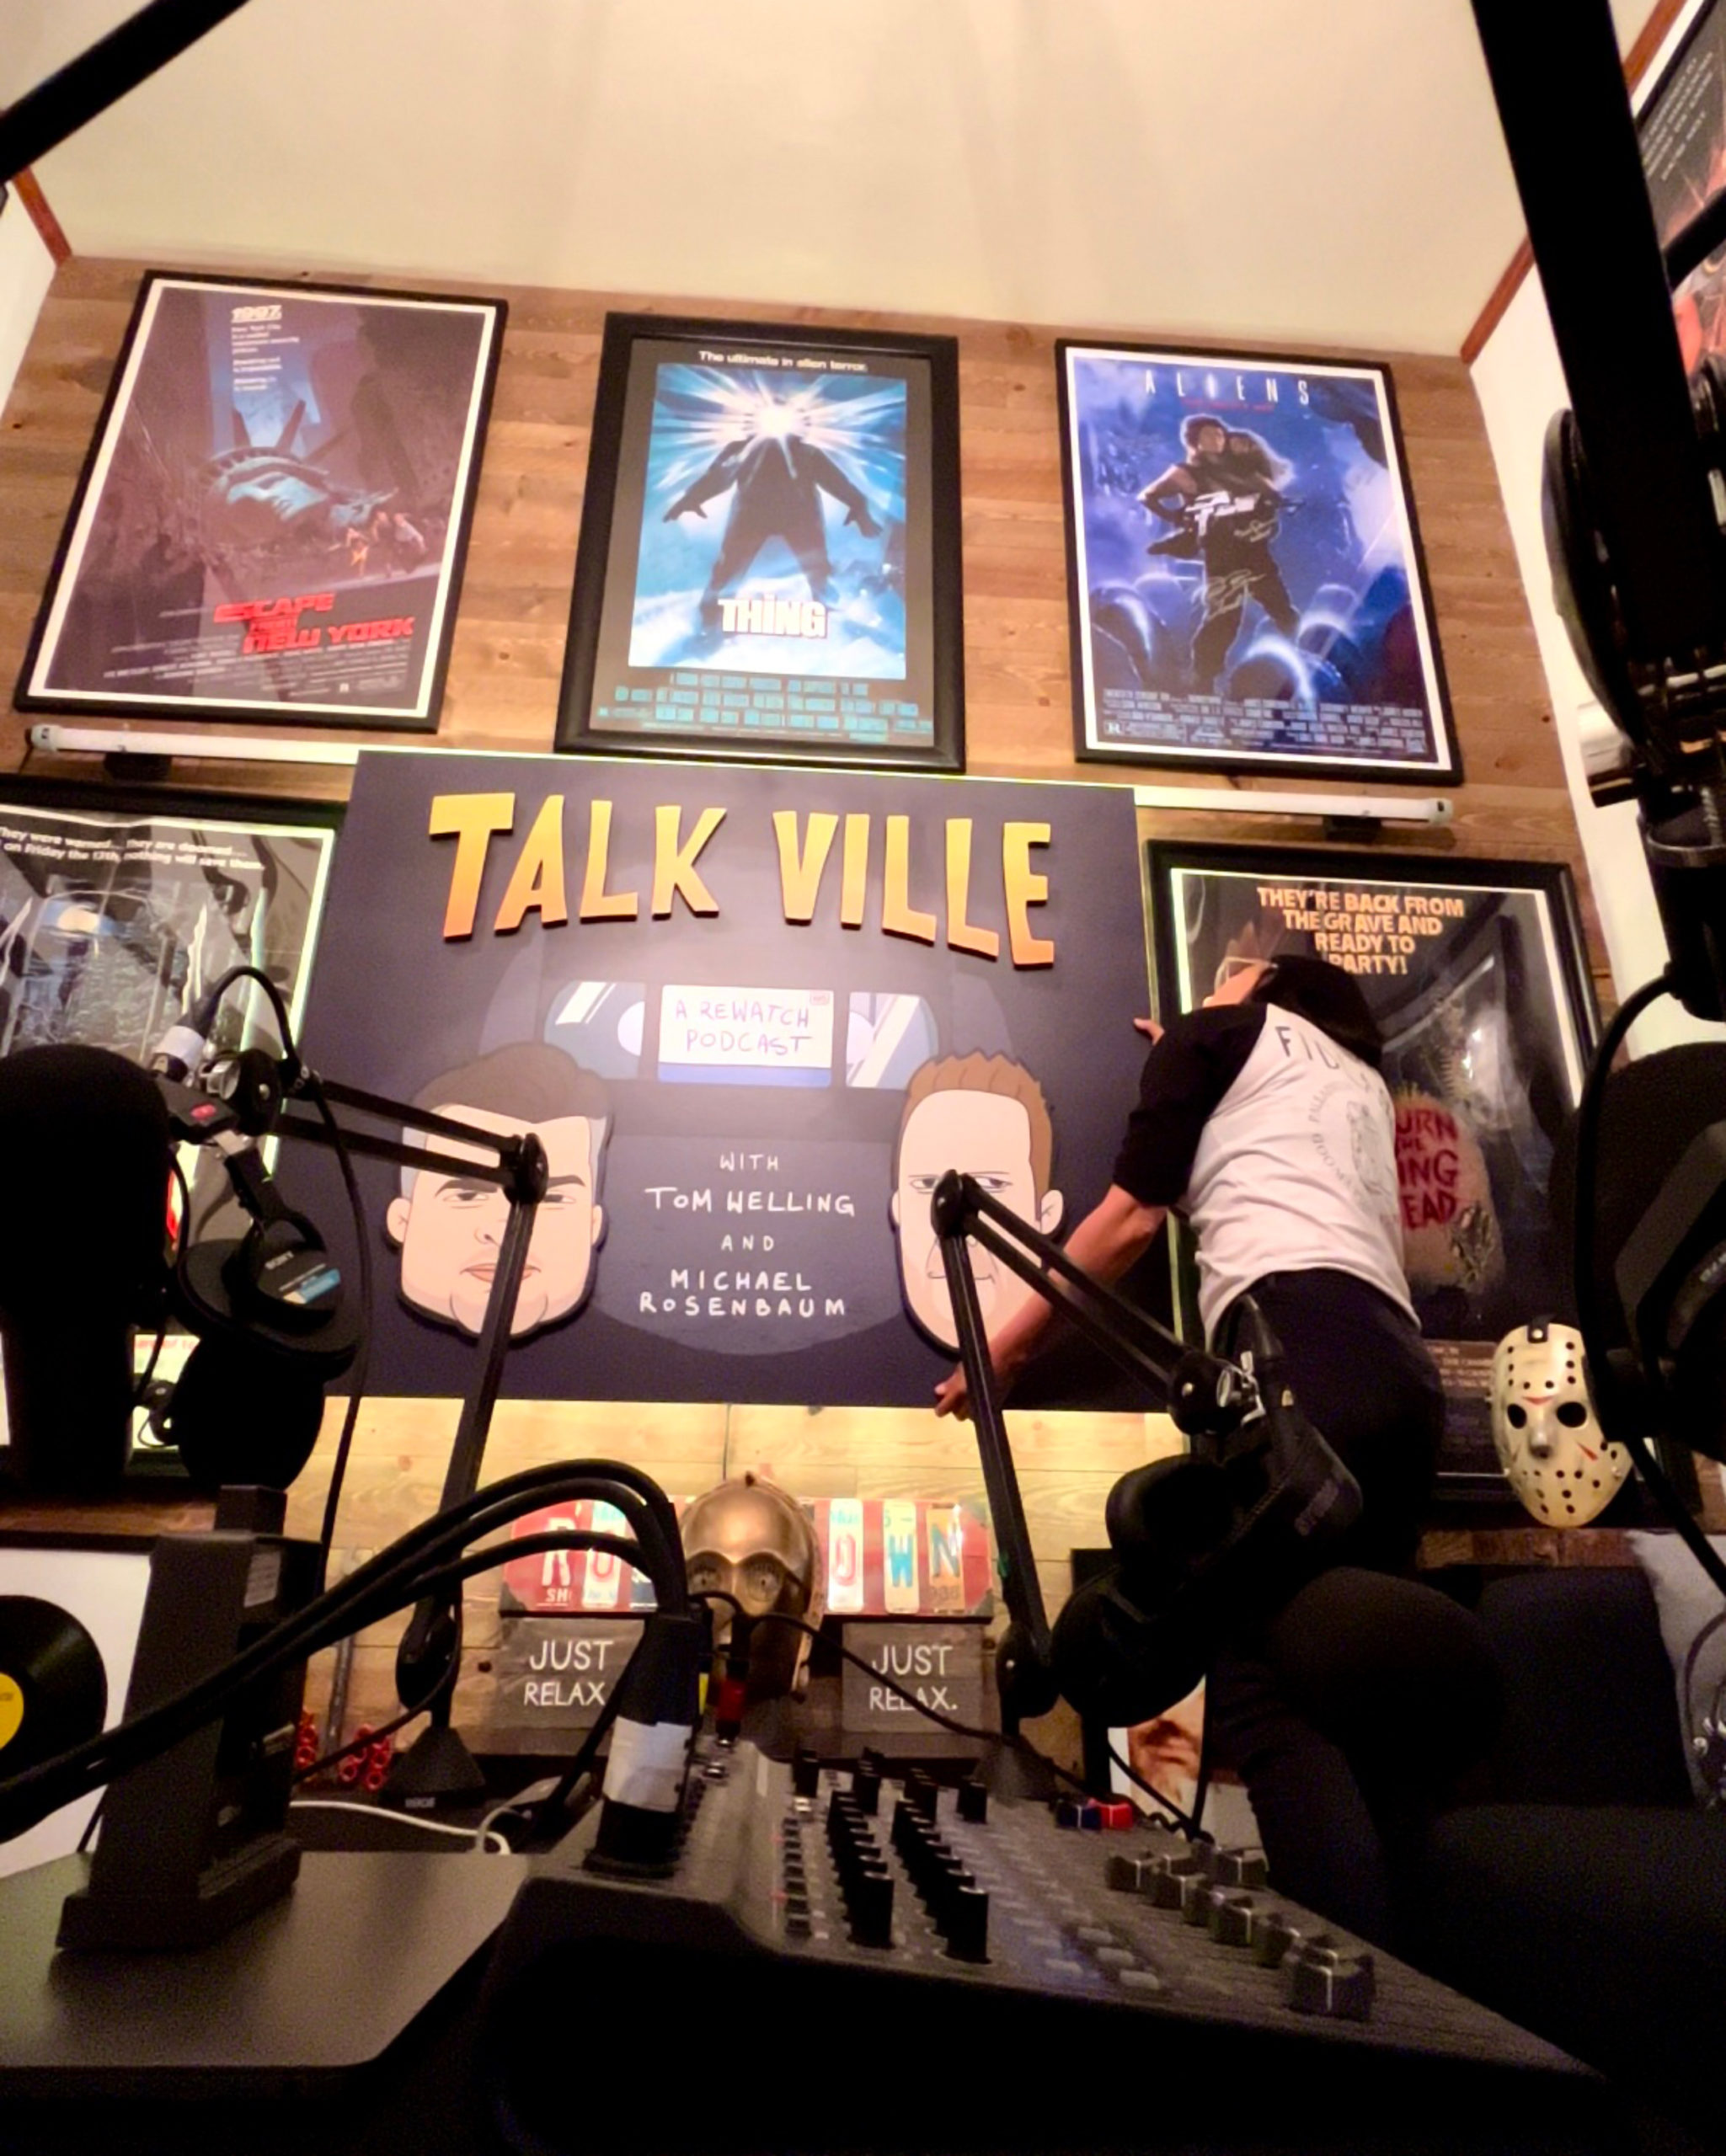
I have made battery-operated, portable signs before for traveling events such as music tours and pop-up companies. However, this project was rather unique. The sign’s purpose was to cover an existing neon sign in a way that you couldn’t tell this wasn’t the original sign in a podcast recording studio. Exceeding 4 ft. in height and length, the sign had to be lightweight enough to not damage the neon units or backing, but sturdy enough not to bend or dent easily when installed and removed repeatedly.
With 1-in.-thick foamcore and printed, laminated vinyl graphics, I knew I was on the right path. I added ½-in.-thick foamcore die-cut letters for more visual depth; otherwise it would just be a big poster. I designed two brackets bent out of .080 aluminum which hooked perfectly onto the original sign without danger of damaging it. The sign was uncomplicated and efficient, but of course I wouldn’t shy away from lighting it up. I knew RGB LEDs would make this simple sign an outstanding one; they’re fun because you can control the color, animation and brightness — all which are important factors if the sign will be used for filming purposes.
Do you feel up for the challenge? Give it a try! I used about 40 RGB LED modules, one LTECH M series LED mini controller, one pigtail power adapter cable and one 8-cell 12V DC power supply AA battery holder. Before I tell you this, I must confess I failed almost every math class I’ve ever had in my life, but the following makes sense in my head: I had 40 LED modules at 0.72 watts each, which equals 28.8 watts.
One AA battery contains about 3.9 watt-hours; eight of them should give me 31.2 watts, which is 2.4 watts more than needed. Meaning … my sign should be OK to light up and sustain power for over an hour. If I lost you there, the more LEDs, the more batteries you will need; or the fewer LEDs, the longer the battery pack will last. The LEDs lose brightness when it’s time to change batteries. I highly recommend disconnecting the battery pack from the LED controller to keep battery life longer because the controller has a small, red LED itself when operating, so that will suck some juice on its own. If you are only using white LEDs (or single-color LEDs without a controller) you don’t have to worry about that part.

There are many ways you can experiment and implement battery-operated signs. I have made small freestanding lightboxes, tabletop signs and laser-etched acrylic signage.
This was my first time backlighting a foamcore sign and my client is beyond impressed. I’m definitely far from resembling Santa Claus in any shape or form (though I do resemble my dad a little bit) but I guarantee my portable, illuminated signs come with batteries!
The post I Made a Portable LED Sign – and You Can Too! appeared first on Signs of the Times.
https://goo.gl/hYDEHJ
No comments:
Post a Comment