Picture this: You’ve got your business all set up, the interior looks great, the sign on the building is perfect, and all you’ve got left to do are a few little things like putting the vinyl letters on the front door. Just wipe that door and slap on the letters, right? Not so fast. If you fail to apply your vinyl lettering correctly, you’ll be replacing it sooner than you’d like. Follow these simple steps to ensure quick and easy application and vinyl lettering that lasts.
Check out our other blog post on how to remove vinyl lettering.
Supplies Needed
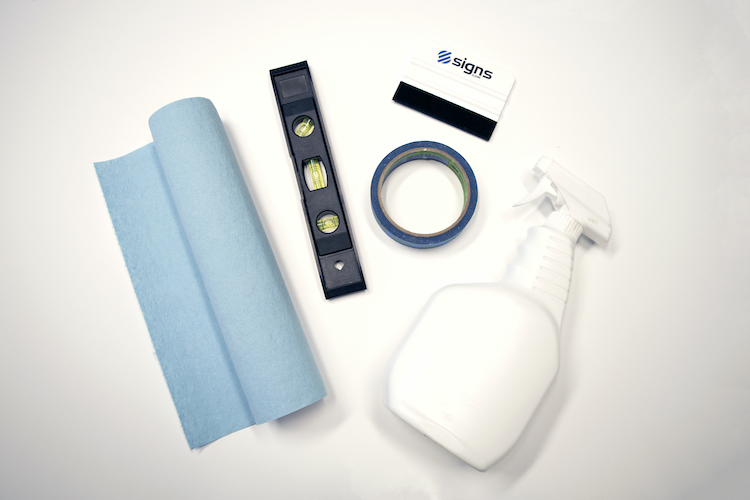
Before you apply your vinyl lettering, you’ll want to gather your supplies so you’ve got everything close at hand. Here are a few items that will make the job a lot easier:
- Cleaning Supplies
- Squeegee
- Masking Tape
- Level
- Tape measure
Consider Your Surface
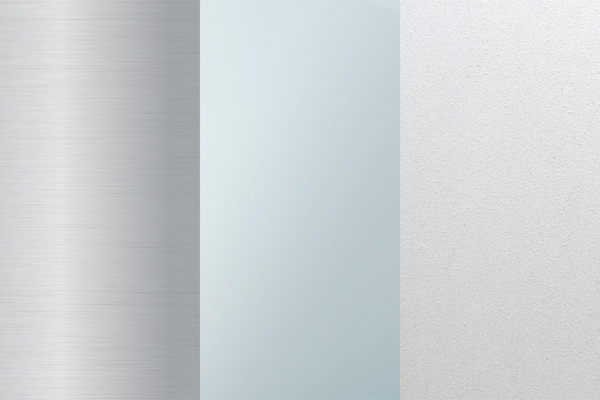
Vinyl sticks best to surfaces that are relatively flat, such as glass, plastic, painted interior walls, vehicles, and metal. Although vinyl lettering can adhere to slightly textured surfaces, such as an orange-peel textured wall, highly textured surfaces like brick or stucco won’t lend to good adhesion. When it comes to applying your vinyl lettering, the smoother the surface, the better the seal.
1. Clean the Surface
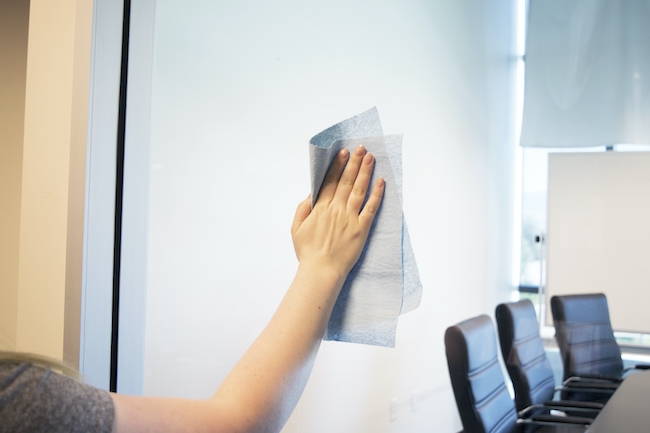
Now that you know where you’d like to put your vinyl lettering, make sure it’s clean and dry. This doesn’t mean wipe the glass door with your sweatshirt sleeve. Take the time to clean your surface properly, and use the appropriate cleaner for the job. For plastic or glass, a surface cleaner like Windex is fine. For metal or other exterior surfaces, use a solvent cleaner. Painted surfaces like interior walls, require a mild generic household cleaner. Don’t go overboard though, and rinse the surface if you feel like there is a residue leftover after cleaning. Be sure and dry your surface or let it air dry for a good amount of time.
2. Place your Vinyl Lettering
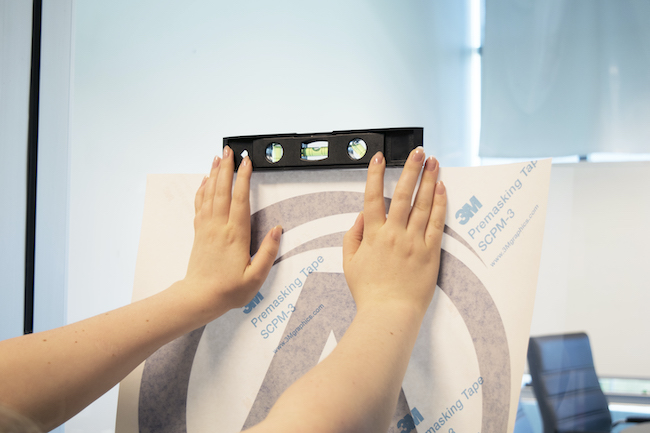
Your vinyl lettering comes sandwiched between two other sheets. If you’re looking at your graphic as it should be read, the first layer is the mask layer, then your vinyl lettering, then the backing. Measure your graphic and hold it up to your surface. Decide where you want it to go, and use your tape measure to make sure things are lined up correctly. For example, if you want your lettering to be in the middle of the wall, measure the entire wall both ways and find the center. Then, measure your lettering and decide where it needs to be so it’s perfectly centered. Eyeballing is great, but you’ll be wasting time and money if you don’t take a few extra minutes to measure and make sure your lettering is in the correct spot. Measure, center, and mark your spot with masking tape.
3. Create a Hinge
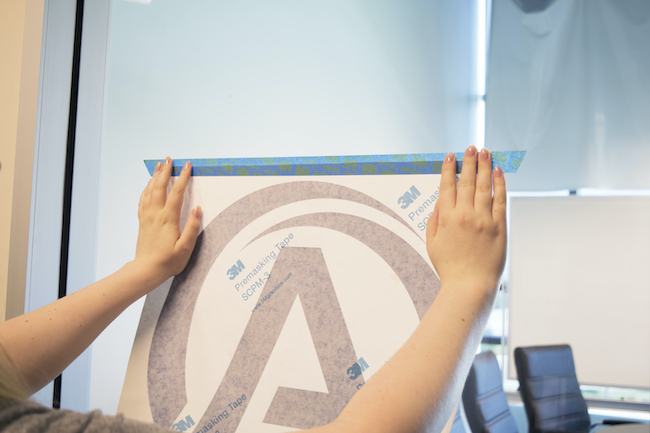
A hinge is made when you apply tape horizontally to the top of your graphic, with the mask side toward you. You should be able to read the letters normally, and the letters will still be sandwiched between the masking and backing. Remove any tape you used to mark where you want the lettering to go. At this point, nothing should be in the way of your vinyl besides the backing layer. With the masking tape hinge, you should be able to lift the whole graphic up.
4. Remove the Backing
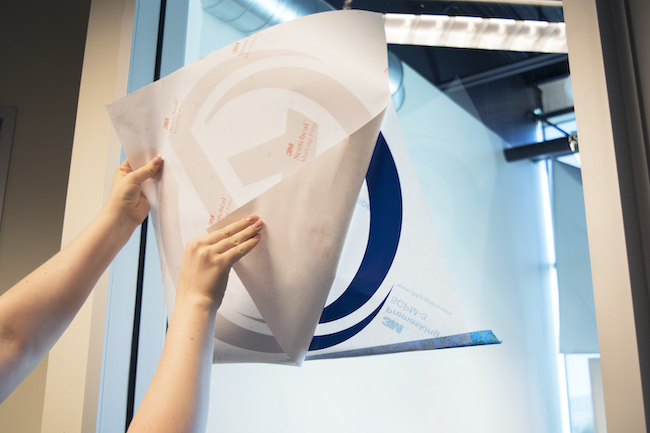
Now you will remove the backing layer and expose the adhesive on the back of your vinyl letters. Carefully peel the backing from one corner, keeping your hinge in place. Go slowly. If your vinyl lettering lifts, press it firmly to the masking layer. Completely remove the backing while holding the corner of the masking layer to keep the letters off your surface until you’re ready.
5. Apply Vinyl Lettering to Your Surface
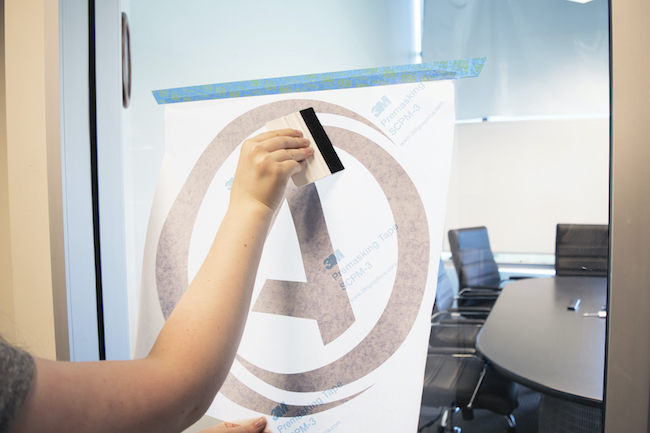
Lower the mask layer and using your squeegee, press firmly at a 45 degree angle, starting from the middle and going out. The adhesive on the back of the vinyl lettering should stick well to your surface if it has been properly cleaned and prepped. Once you’ve got everything in place, use your squeegee and go over the letters a few times to really seal them.
6. Remove Masking Layer
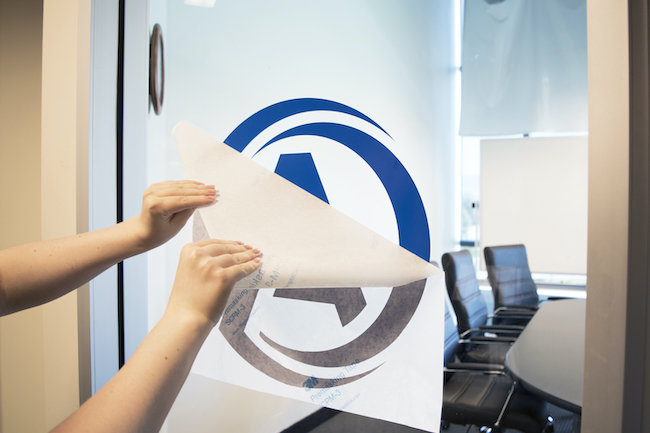
Slowly peel the masking layer as well as your hinge tape away from the lettering. The letters should stay put and the masking peel away cleanly. Again, go slow, and if a letter starts to lift, lower the masking back down and press firmly on the letter. *Remember to always use the masking layer between the squeegee and the vinyl. Using a squeegee directly on top of your vinyl lettering without anything in between it can leave scratches on the vinyl lettering.
7. Cure and Complete
It’s tempting to want to wash and wipe your surface right away, especially if it’s glass. Washing and wiping too soon can move your letters, so let them sit and cure for 12-24 hours before you clean.
You’re done! Applying your vinyl lettering is quick and painless with these steps. You’ll be finished and on your way with less stress and more time for other things.
No comments:
Post a Comment